
assembly
This page will also be short. I never took many pictures while assembling any chairs. It's just a heavy overachieving erector set. The main theme is, like the battery and wiring, do it correctly the first time. Weld quality and proper assembly practices go a long way to ensure reliability and durability. Use high quality 18-8 stainless fasteners from reputable vendors like Mcmaster Carr or Bolt Depot. This is designed to where utmost fastener strength isn't required except the wheel hubs. They use 170,000 psi tensile strength alloy capscrews. Probably unnecessary. Use a dab of grease on all stainless fastener threads to prevent galling.
Only use quality name brand bearings such as NSK, Timken, SKF, RBC, etc. All bearings on here should last forever except the caster wheel bearings. It's almost impossible to keep hair and grass from wrapping around the axles and damaging the seals. Even stainless ones don't last long once the seals or shields are compromised. Covers can be made for them. They're quick and easy to change. I consider them a wear item.
Most all parts that must be welded were designed to snap together. This adds strength, which probably isn't needed if welded properly, but mostly sped up and aided accurately locating everything together without building elaborate fixtures. If building a large quantity it would be far more economical to skip the extra machining time and build a proper locating fixture. In small quantities it is quicker and more accurate to CNC machine in locating features.

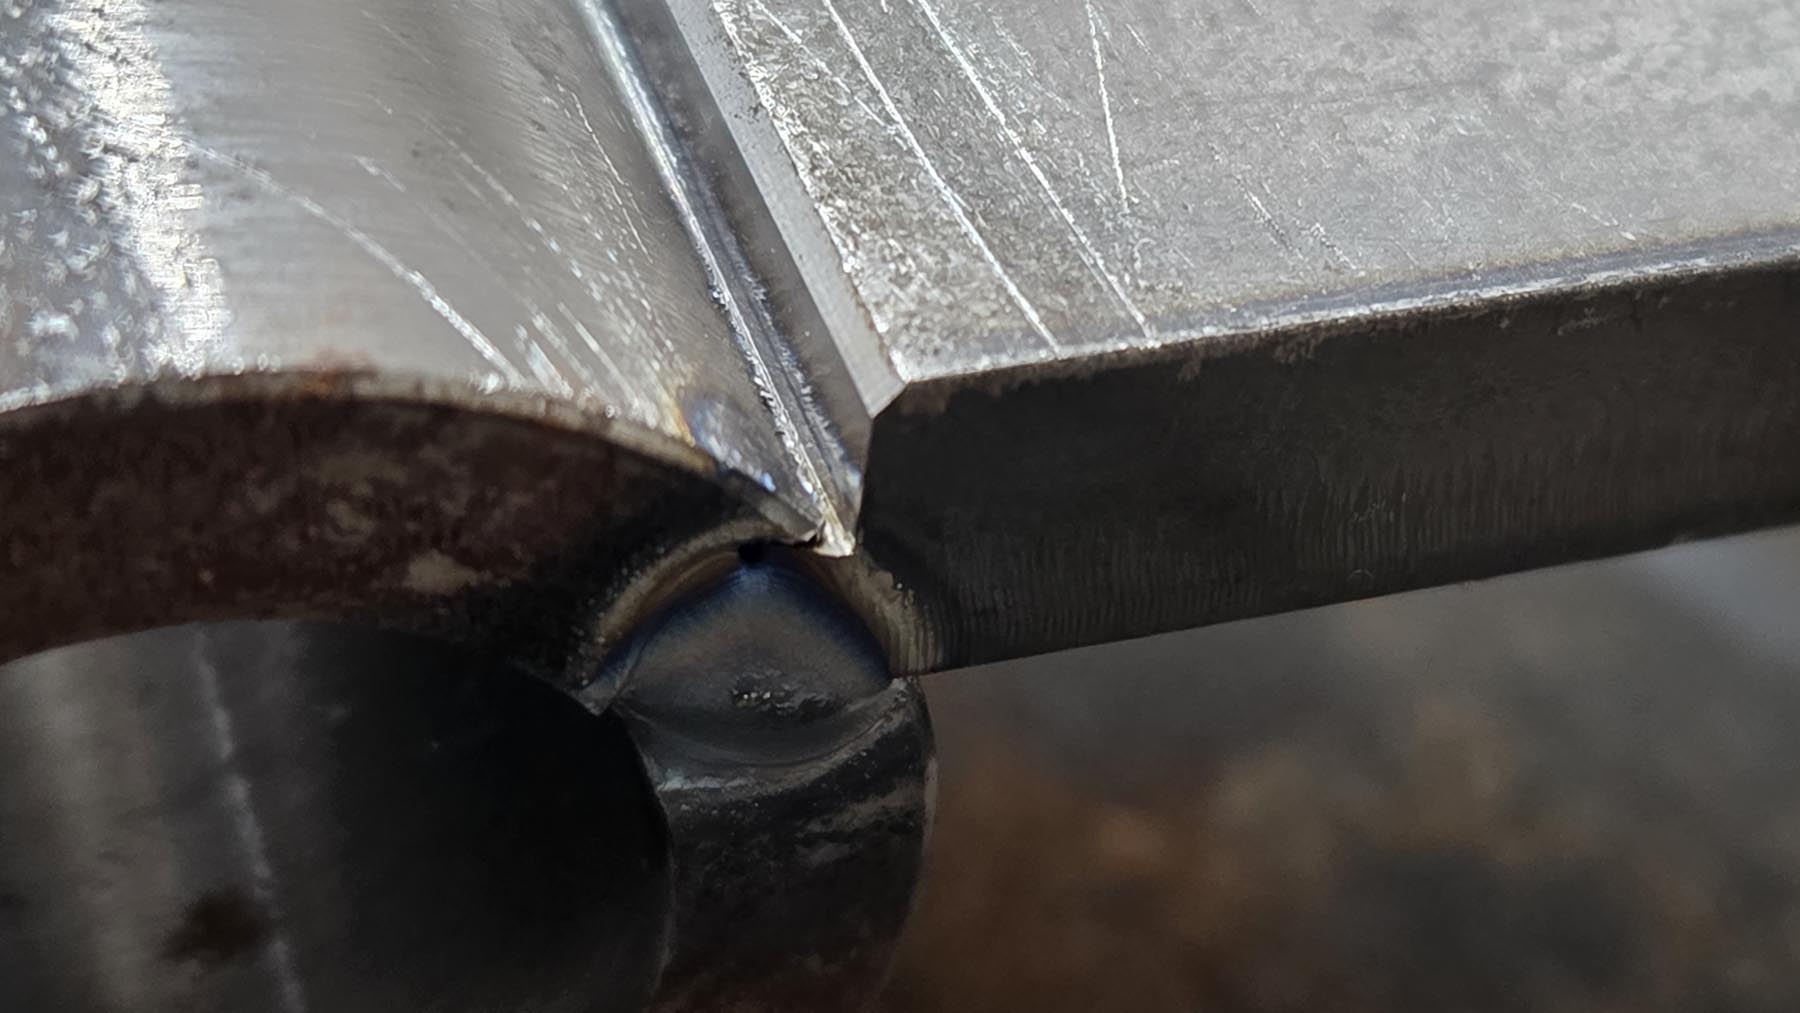


You can see how the swingarms were coped by CNC on the hardware build page. Good fitups like this make the welding much easier. Care must be taken not to pull it out of alignment. Several small tacks around the perimeter will hold it in place before pouring the heat to her.
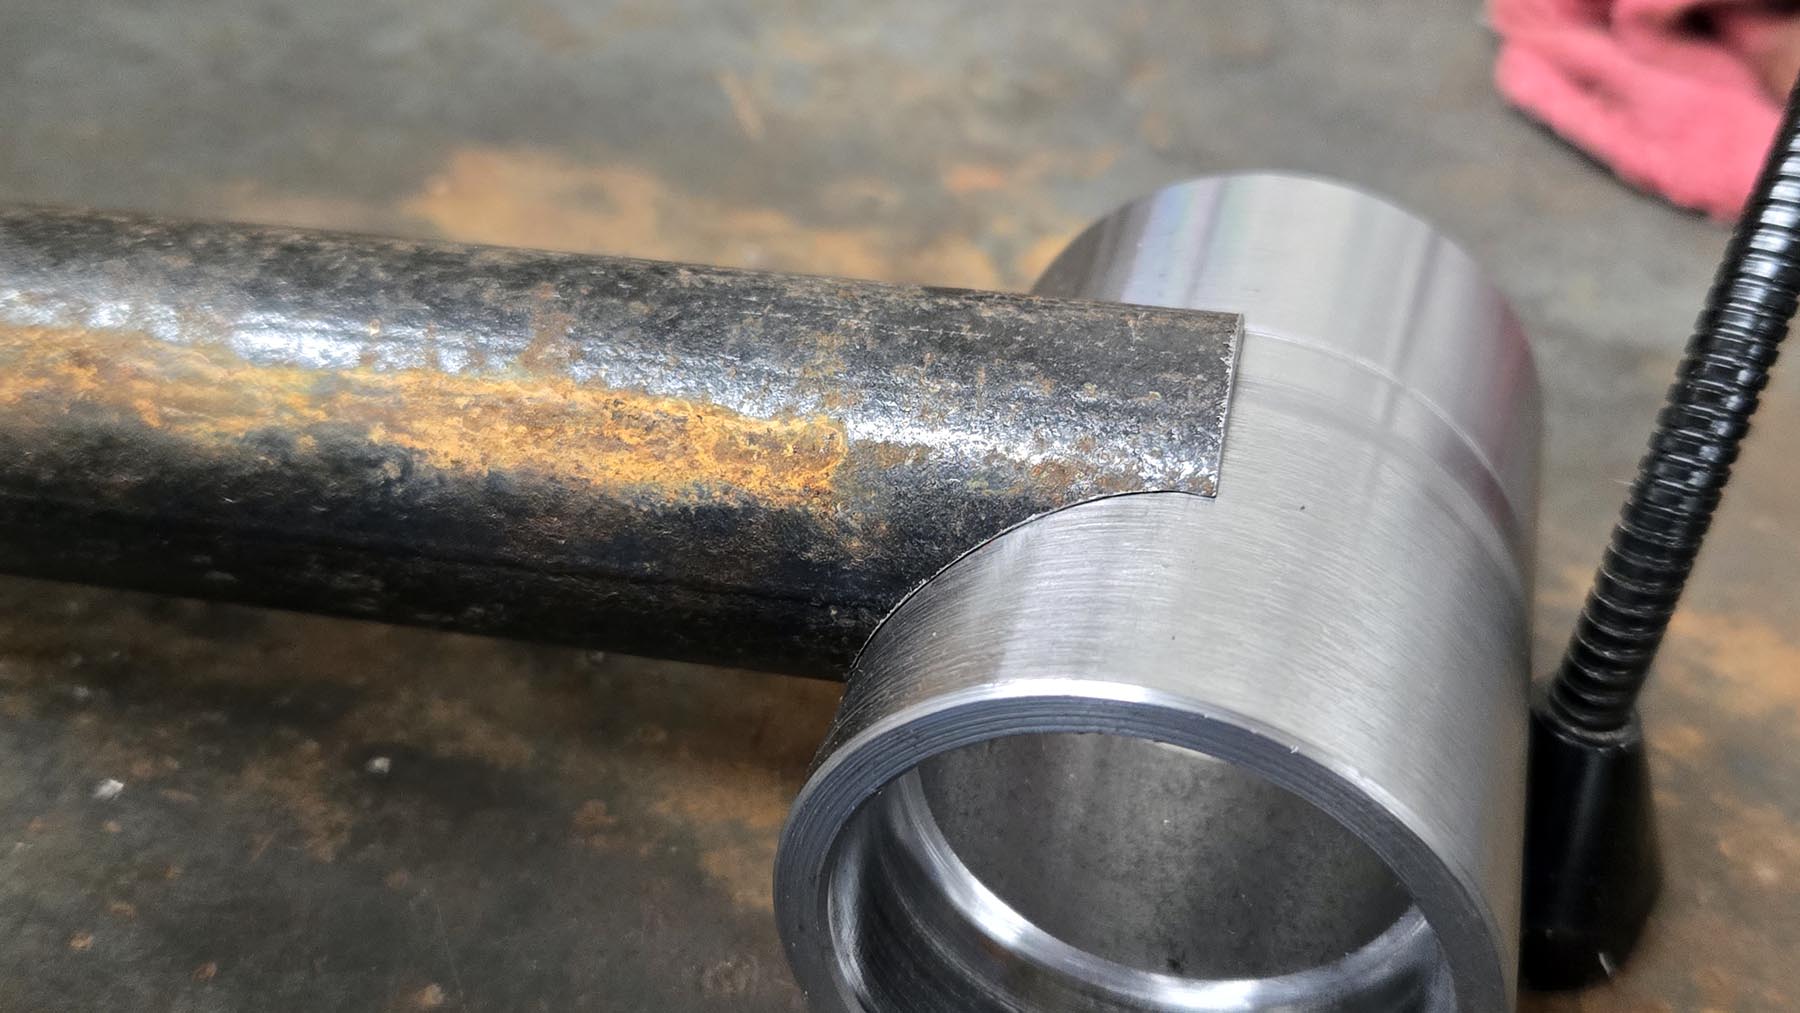
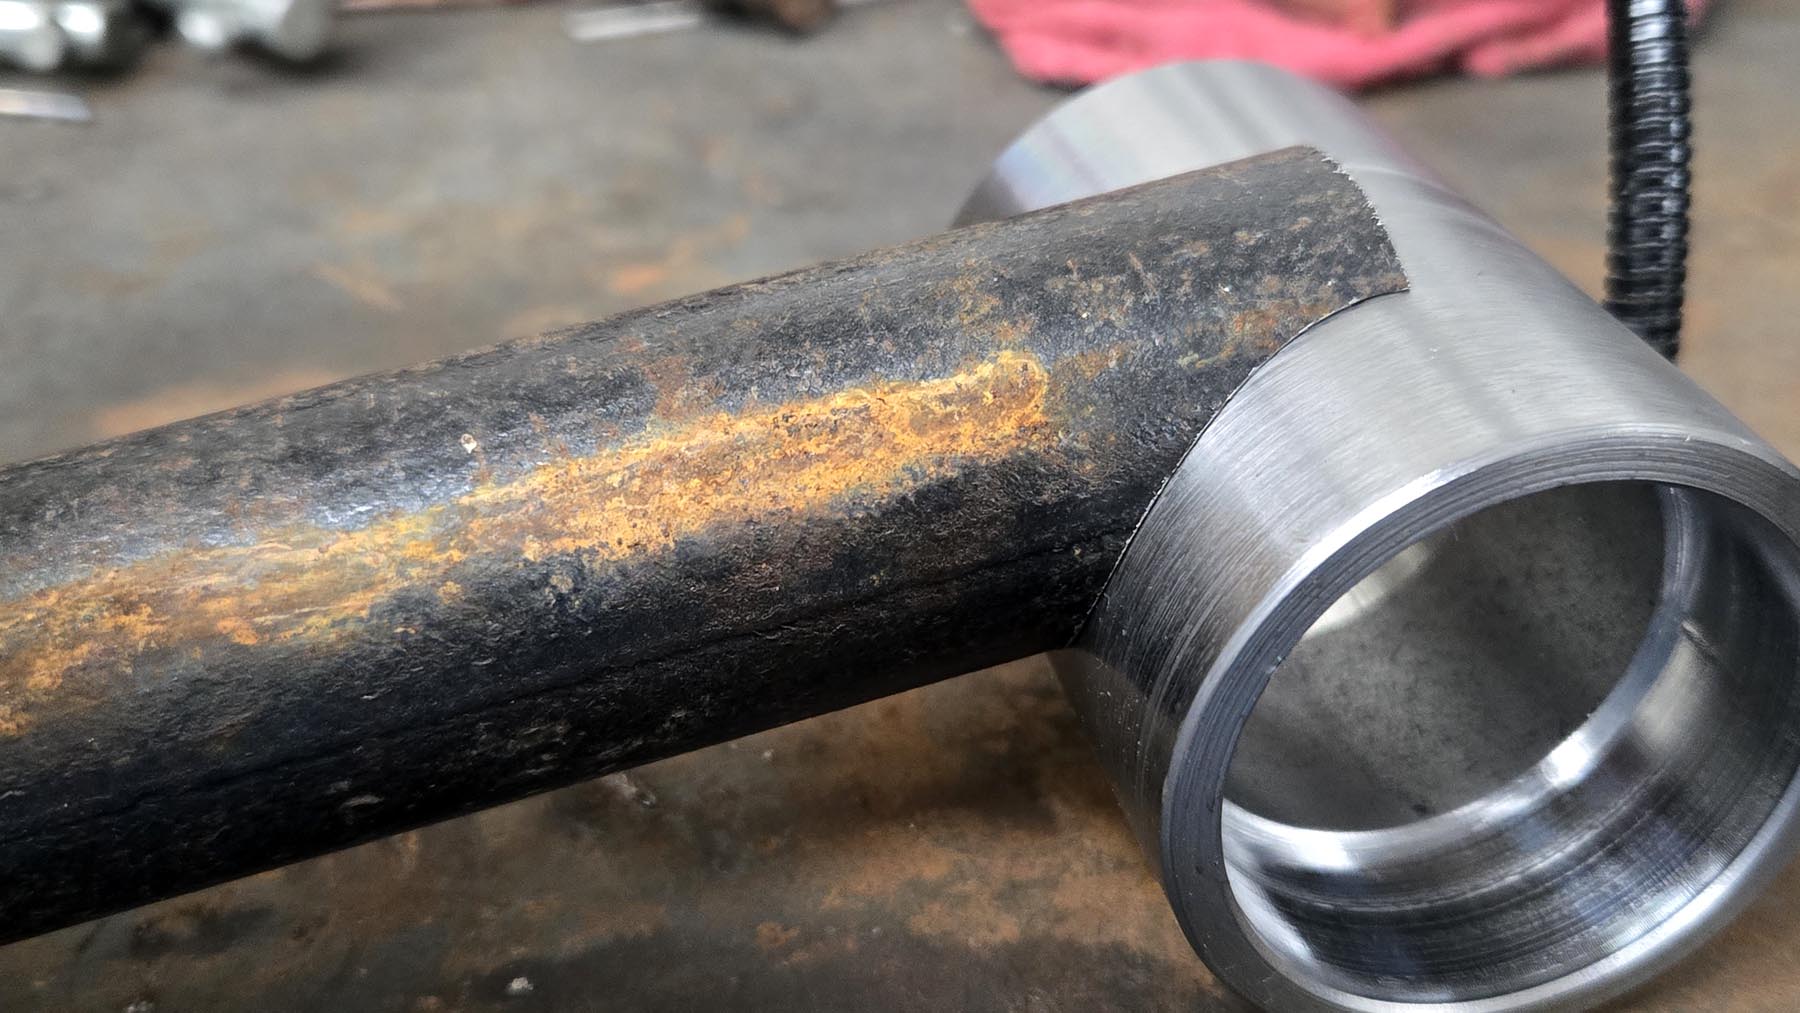
I am absolutely not a welder. I know how. I just lack the motor skills for it. A good TIG machine, proper fitments, correct settings, good material that is thoroughly clean, correctly positioning yourself, and patience will make more of a difference than sheer steady hands.
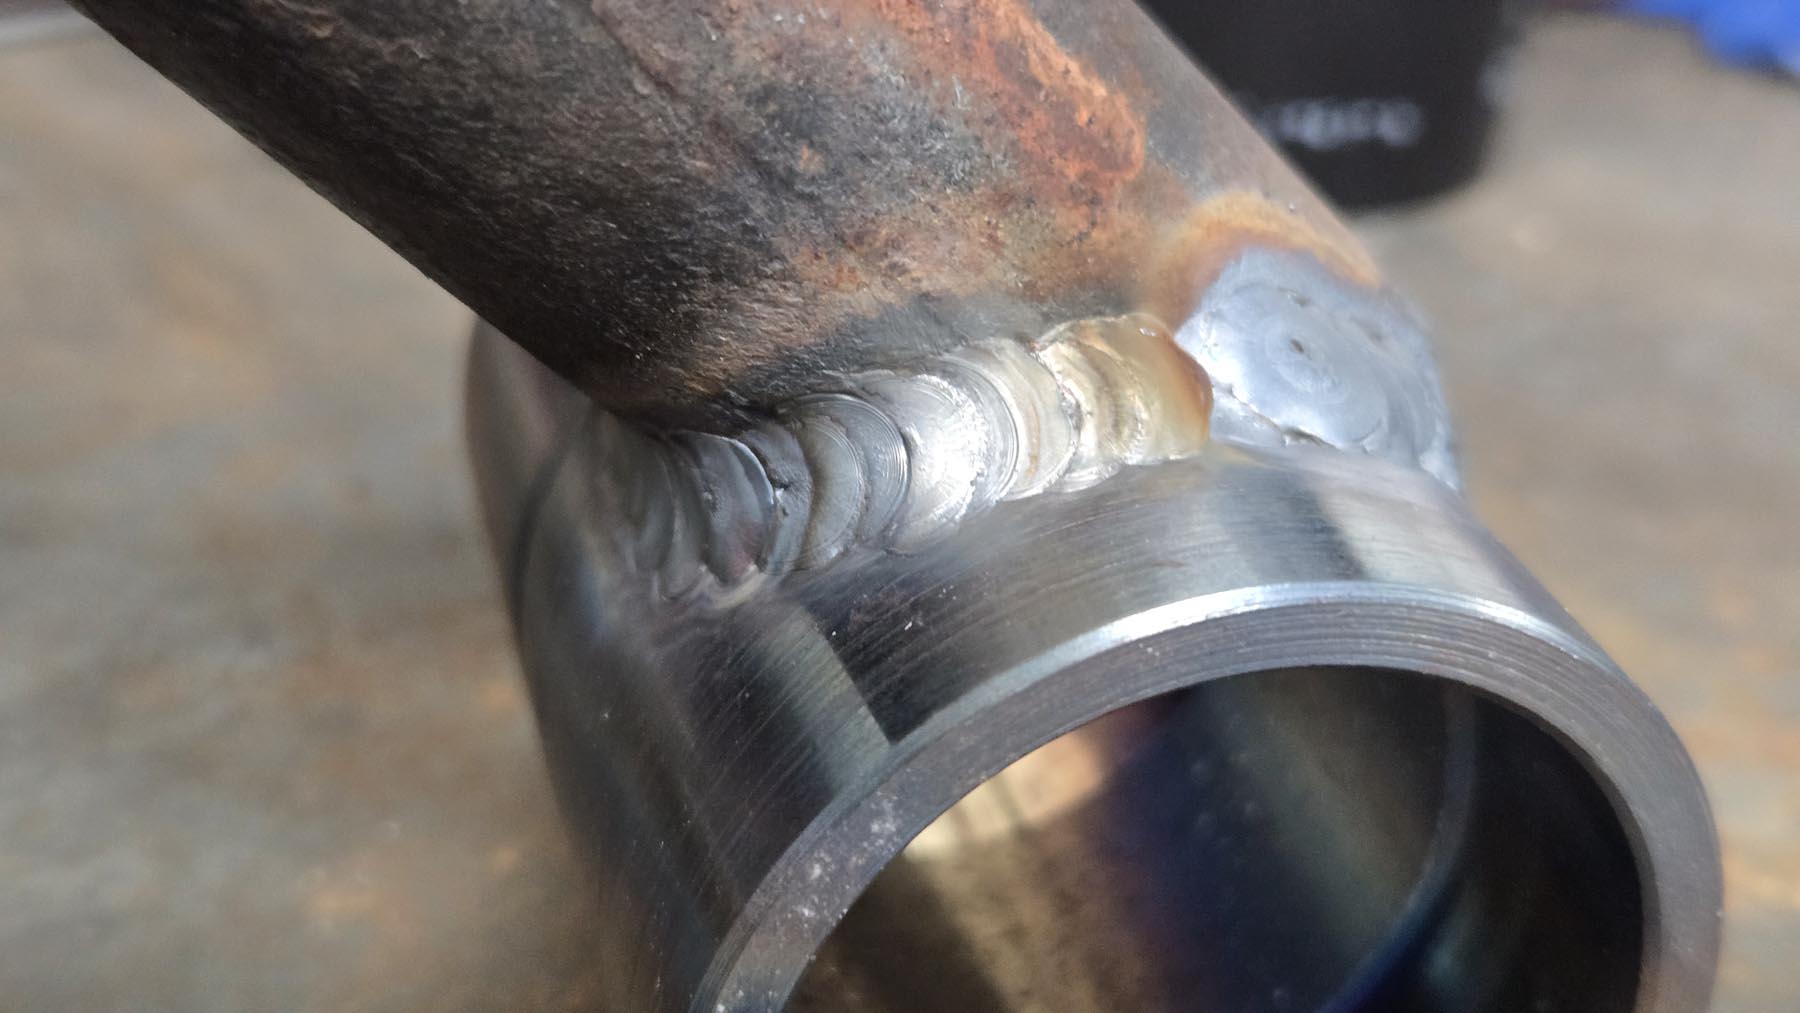
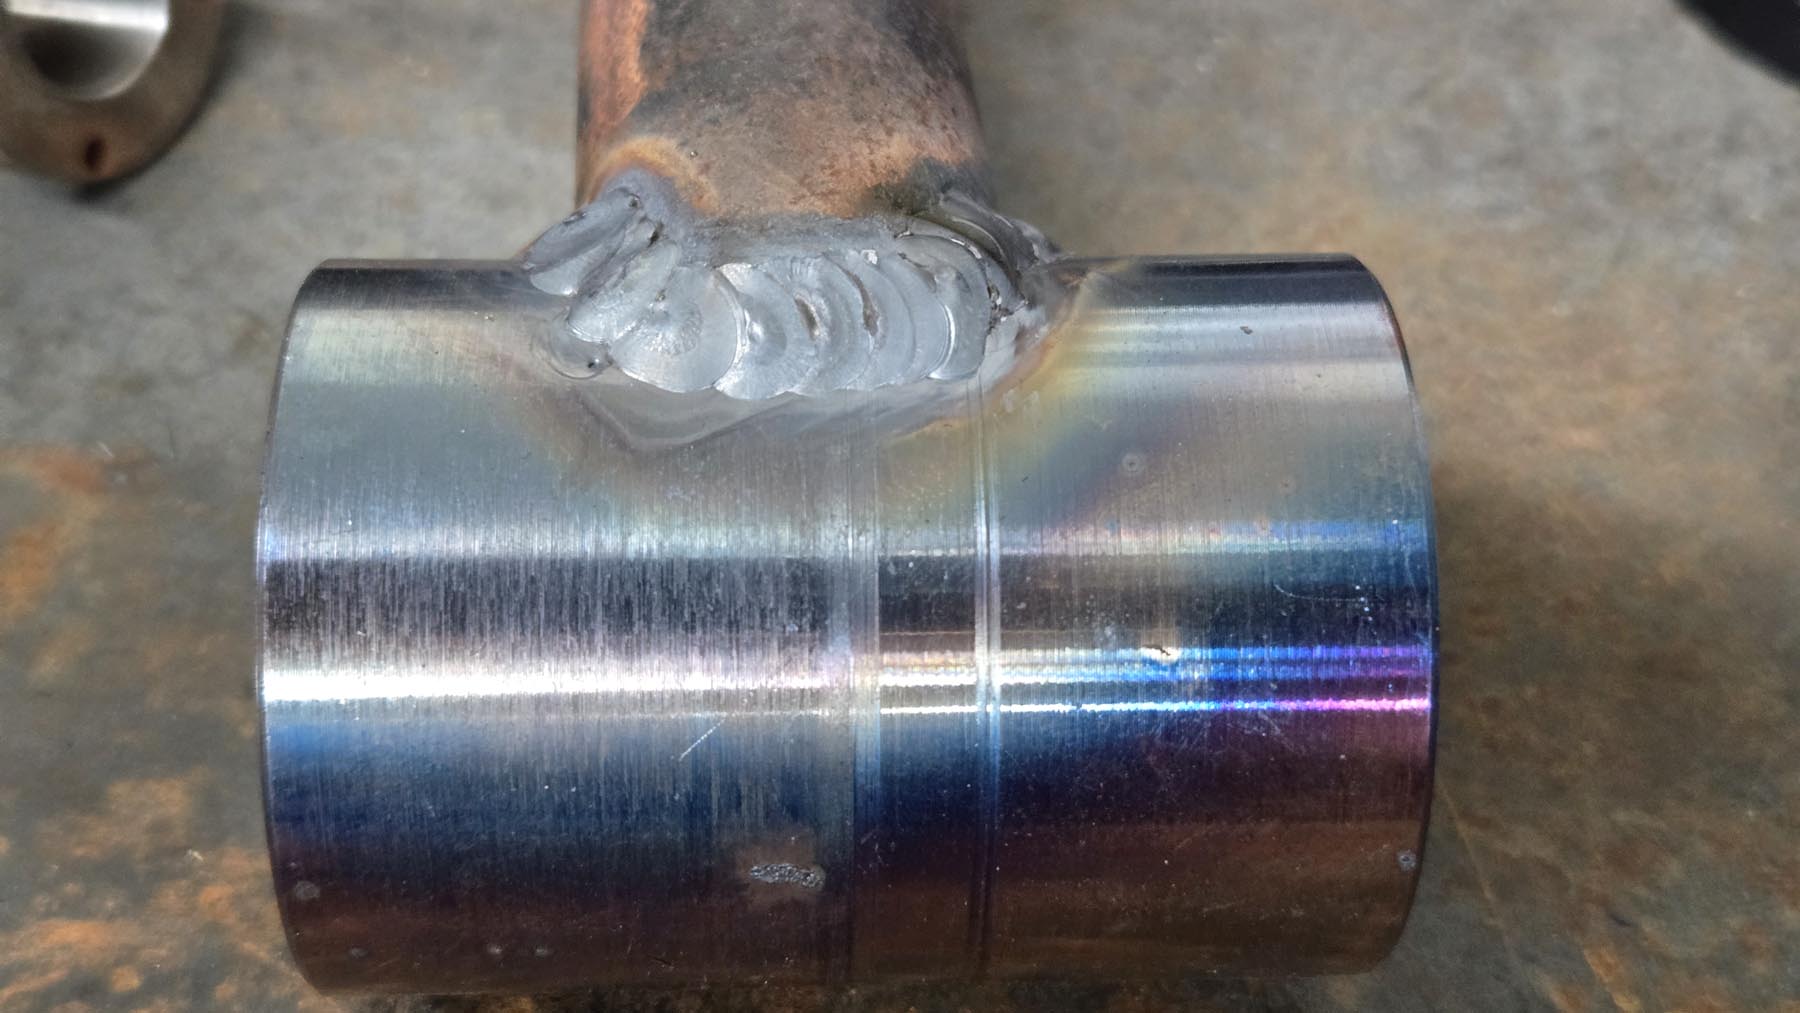
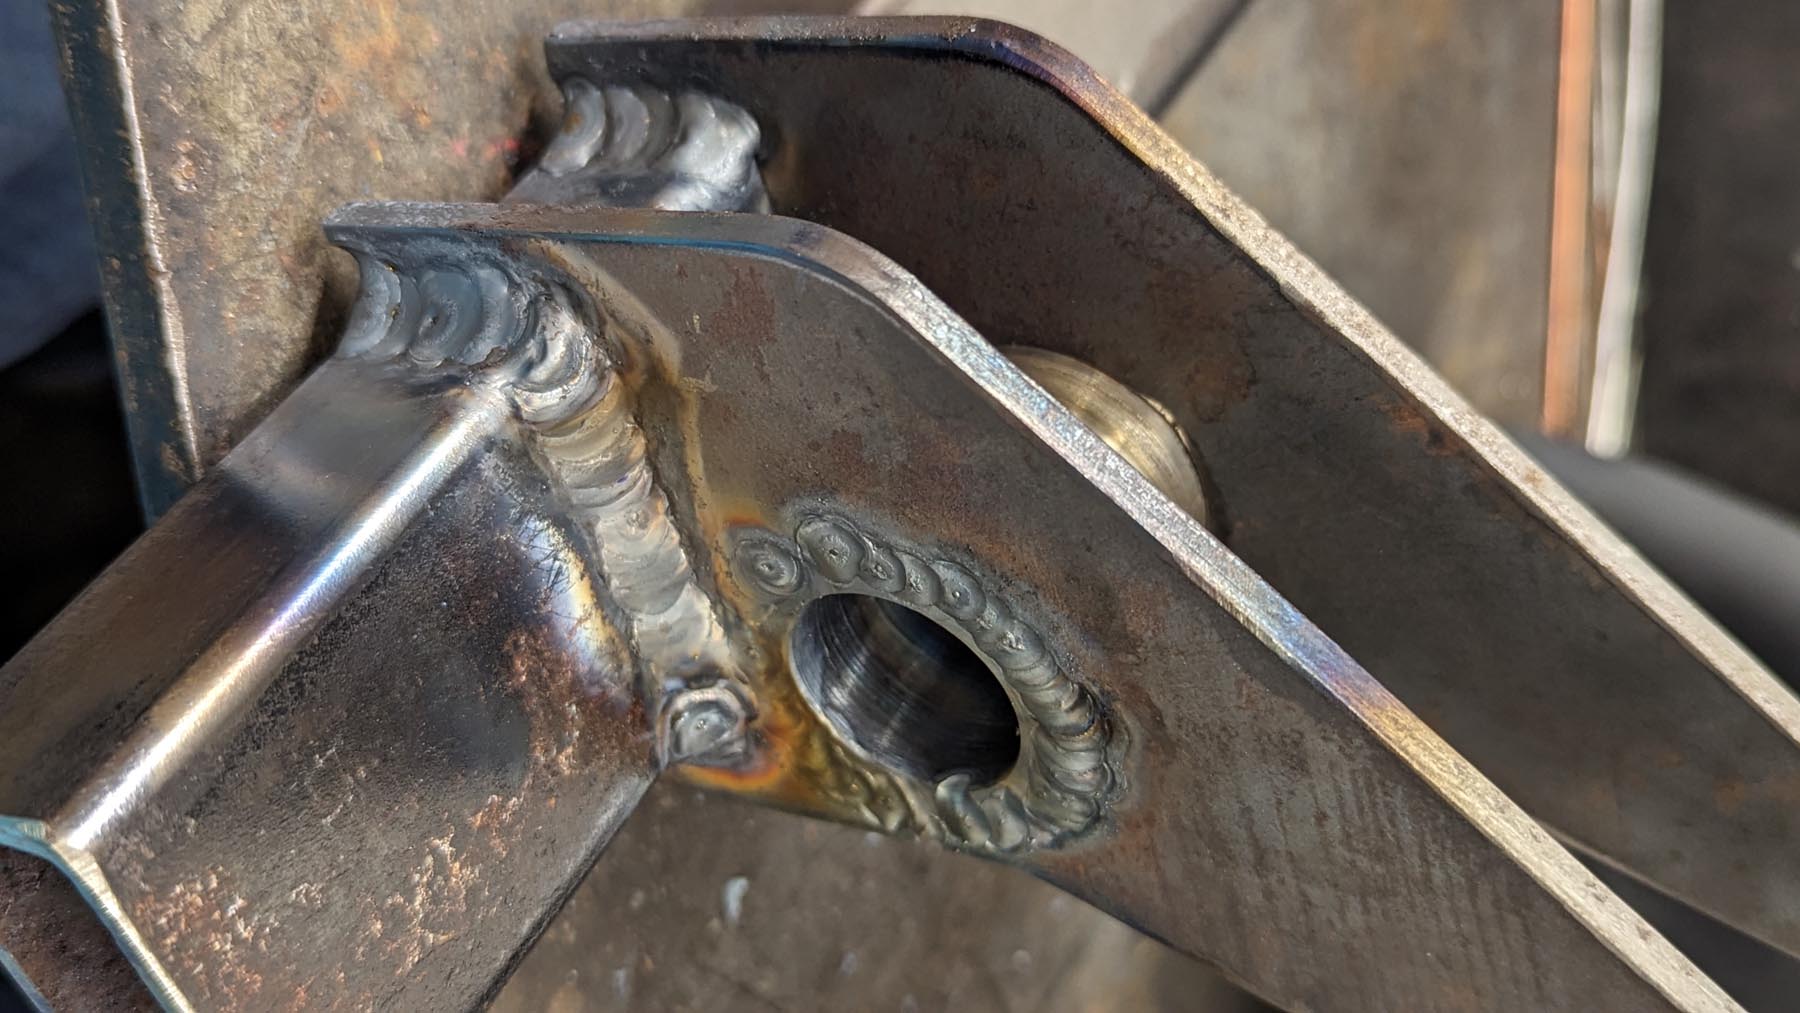
The caster forks are easy assembly. Most things are when the parts are designed correctly and you take your time making them to match exactly what you drew in the CAD design phase. These are designed to fitup corner to corner, leaving nice valleys to fully penetrate and fill with weld. These take a beating. They need to be strong. The aluminum rod is just a piece of scrap machined to the exact width the final spacing needs to be. It will help limit warping and makes fitup easier by holding things in place.

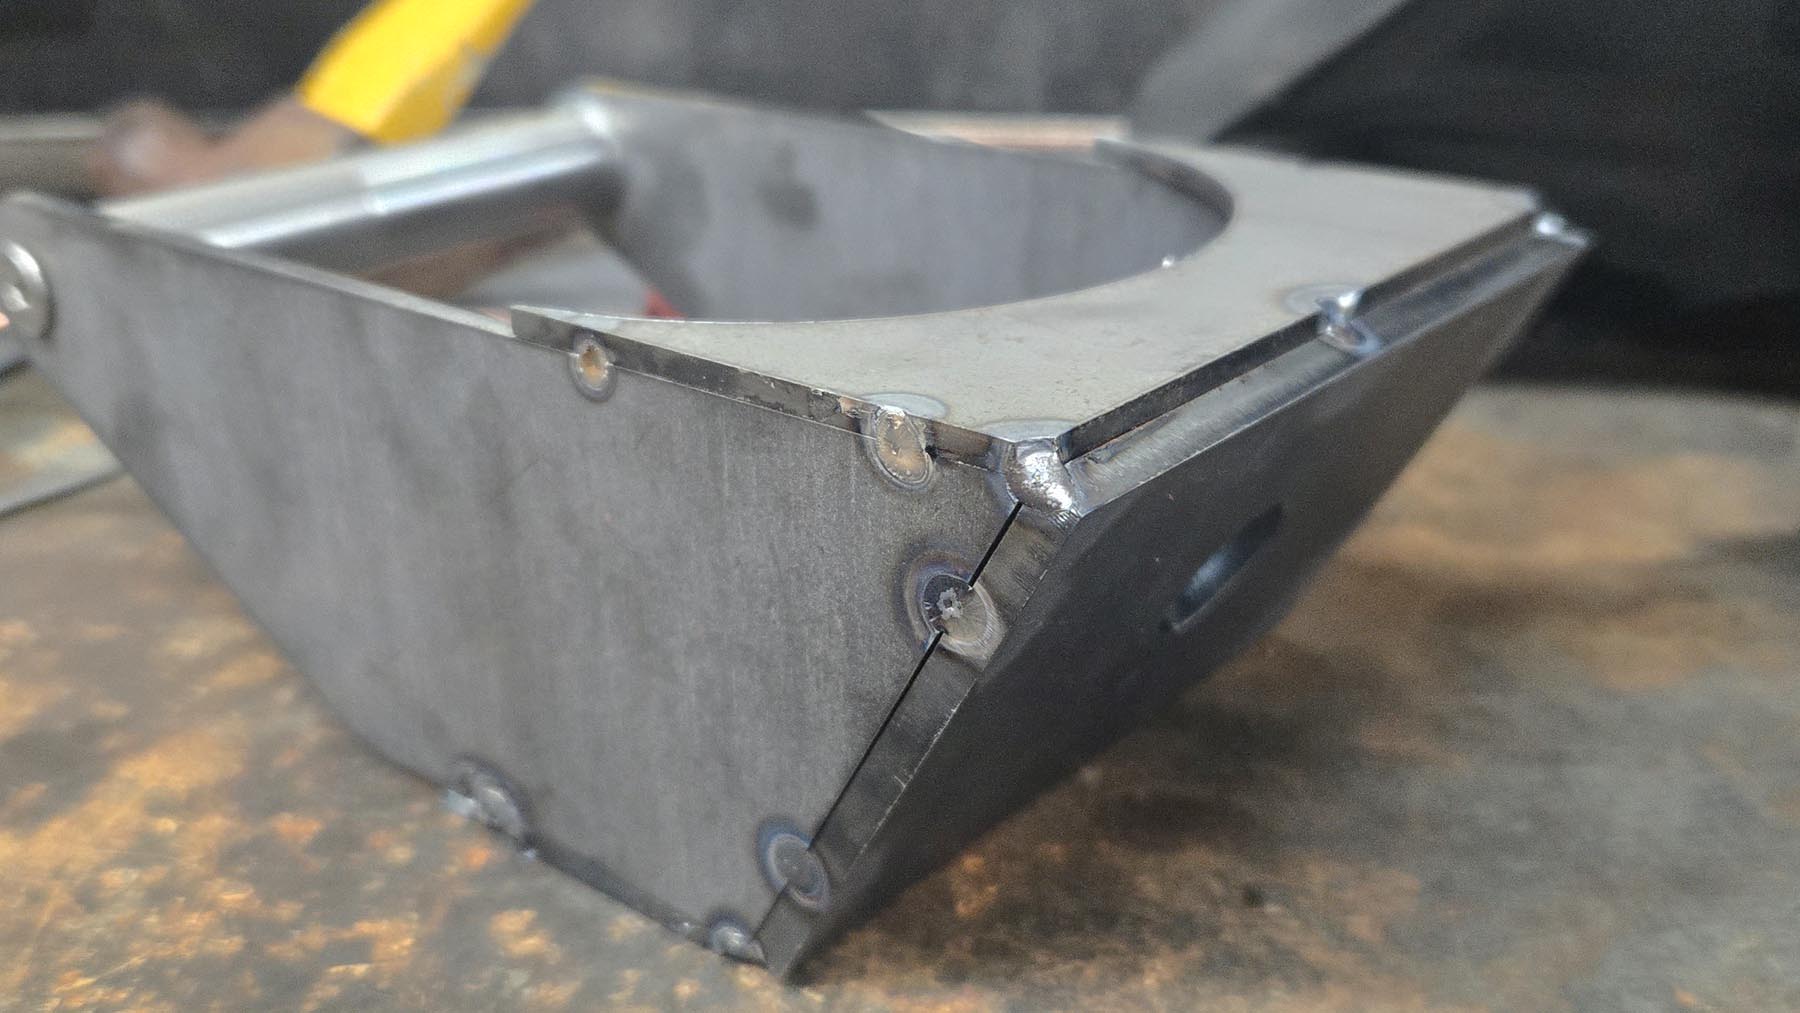
A grinder and paint make me the welder I ain't! It's easy to see they're fully welded through. A flap wheel on an angle grinder will clean this up nicely.


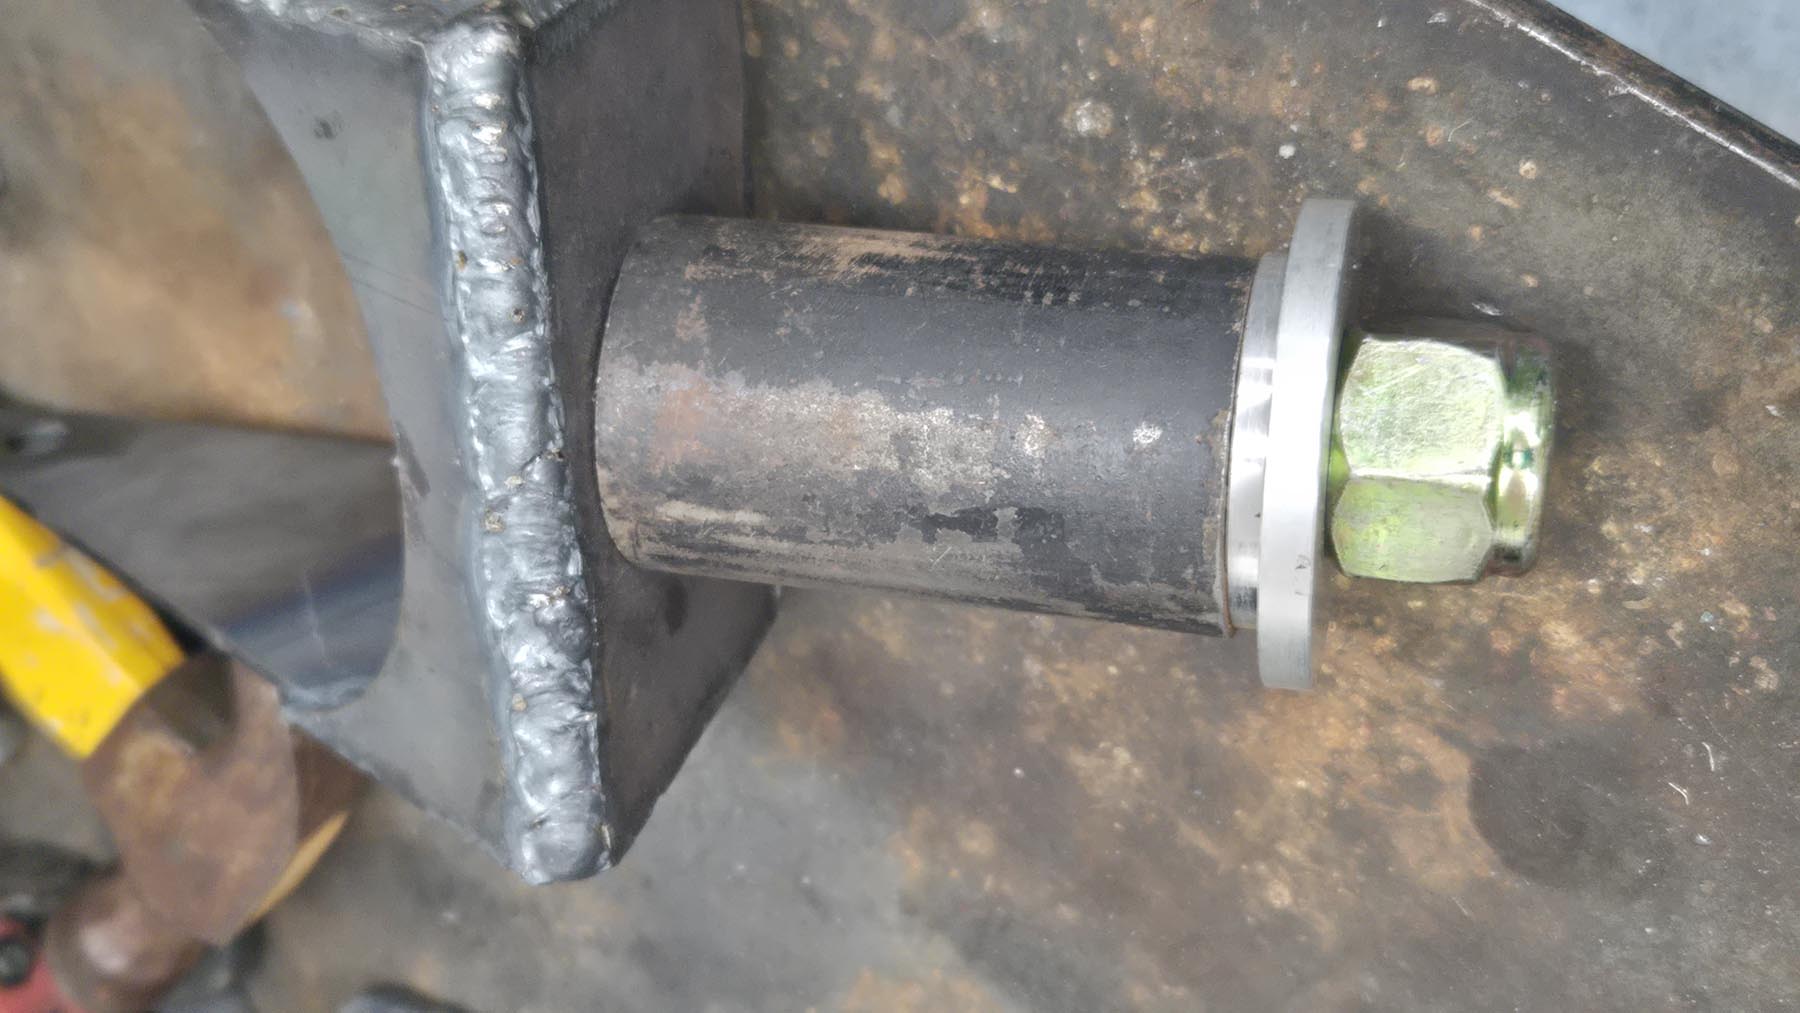
The seat hinges are under a large amount of twisting stress. The bushing housings are pressed into the plate then welded thoroughly. Like everything else, bores are not cut to final size until after welding to assure the axis is straight because they will warp some. Even 1/4 of a degree here adds up and makes a big difference across the entire length of the seat.

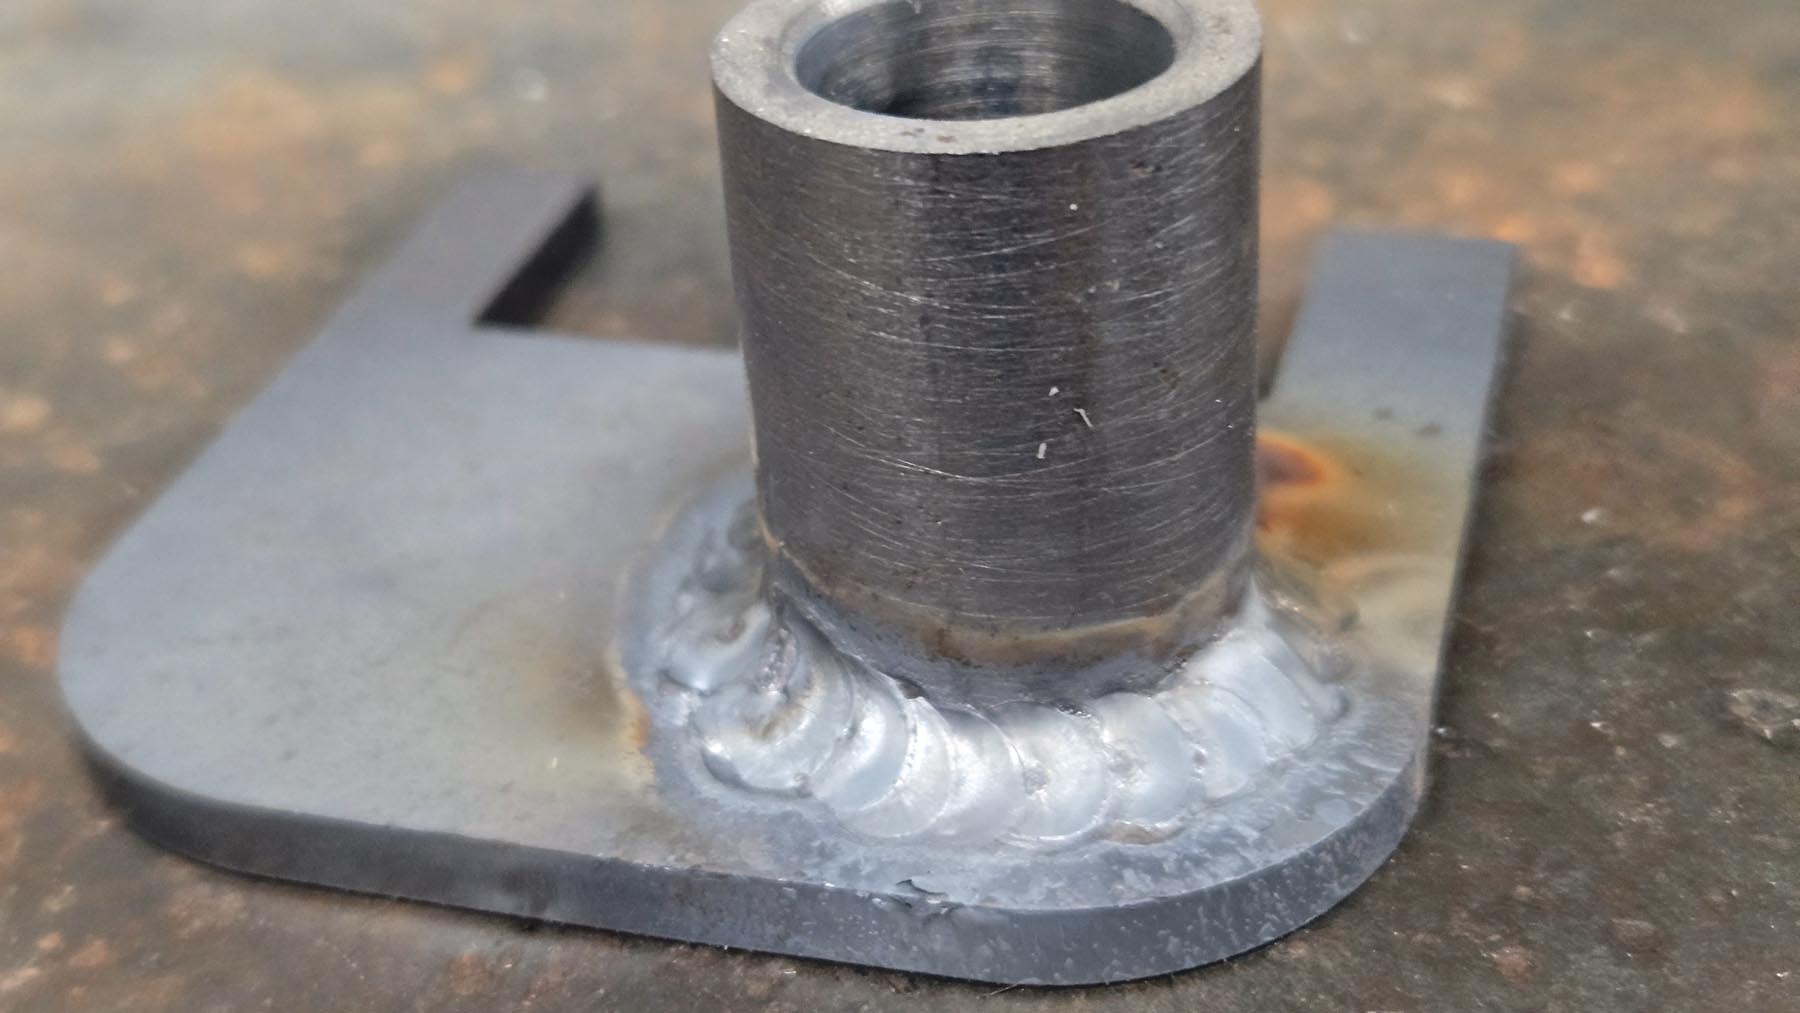
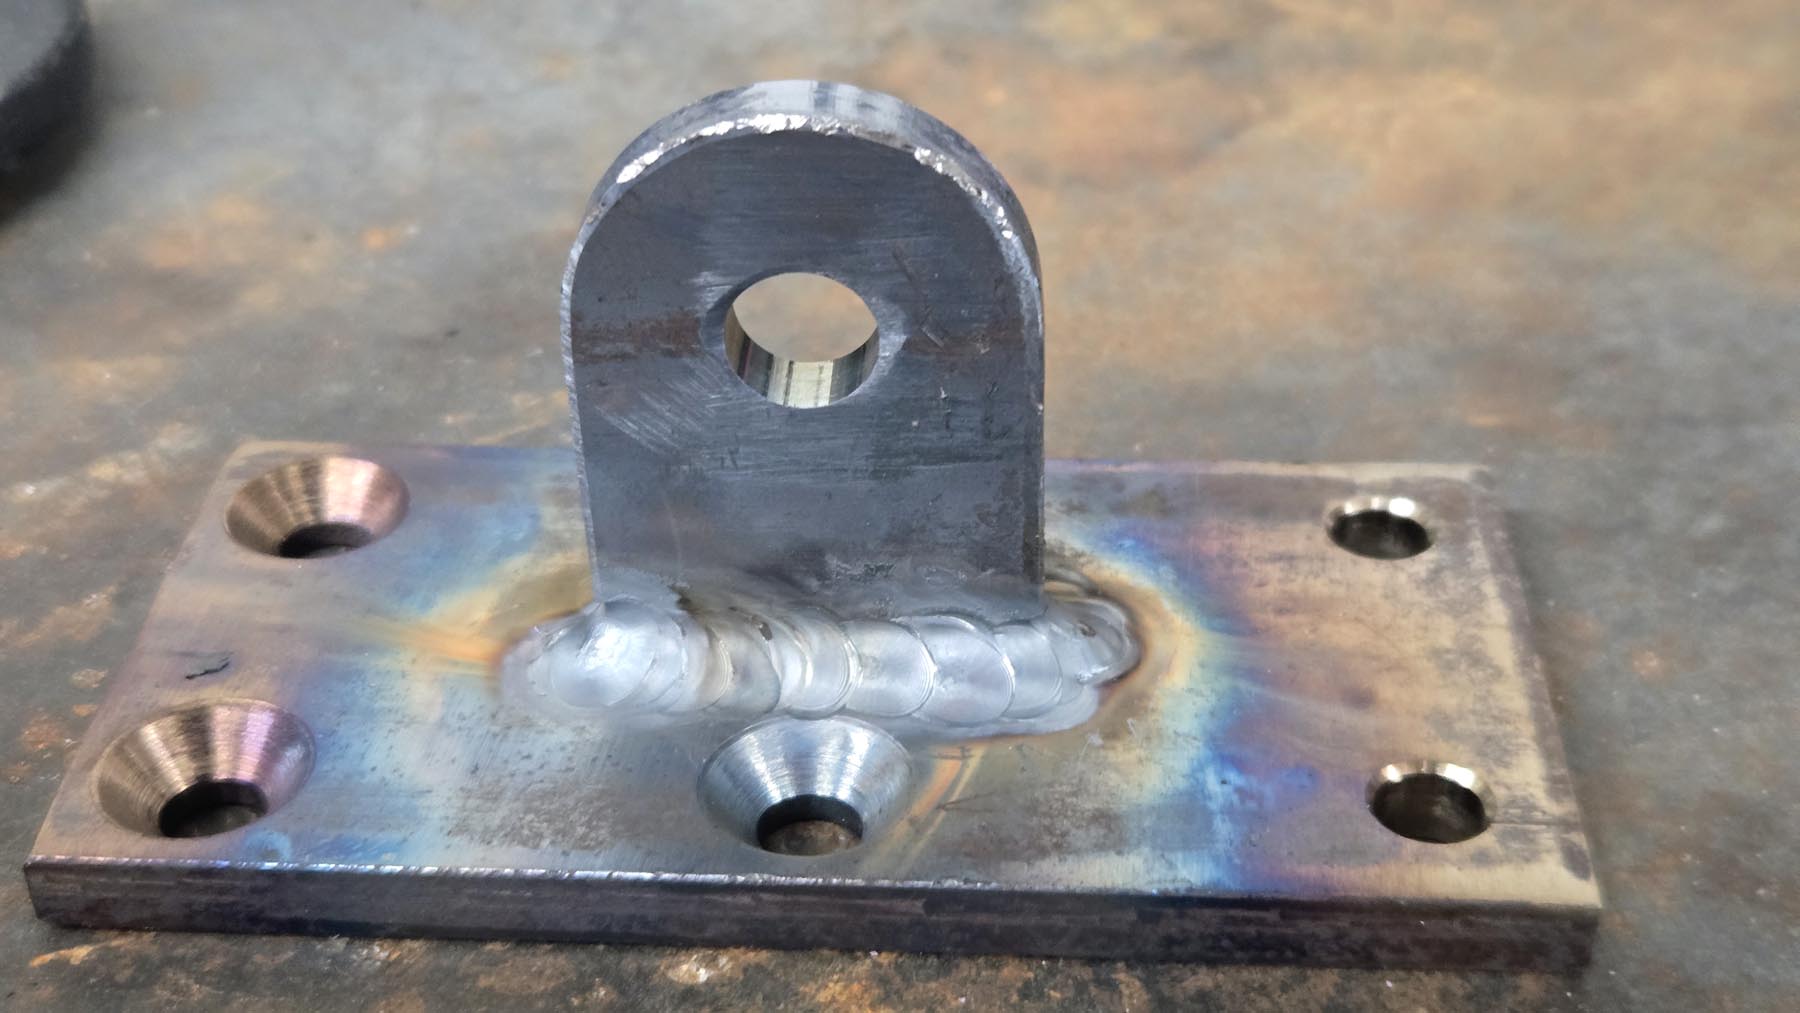
The tilt actuator mount presses together then welded from both sides. Again, the weld on top alone should be strong enough if done correctly. It's much easier and quicker to get it into the exact location it's supposed to be when it goes together like a puzzle.

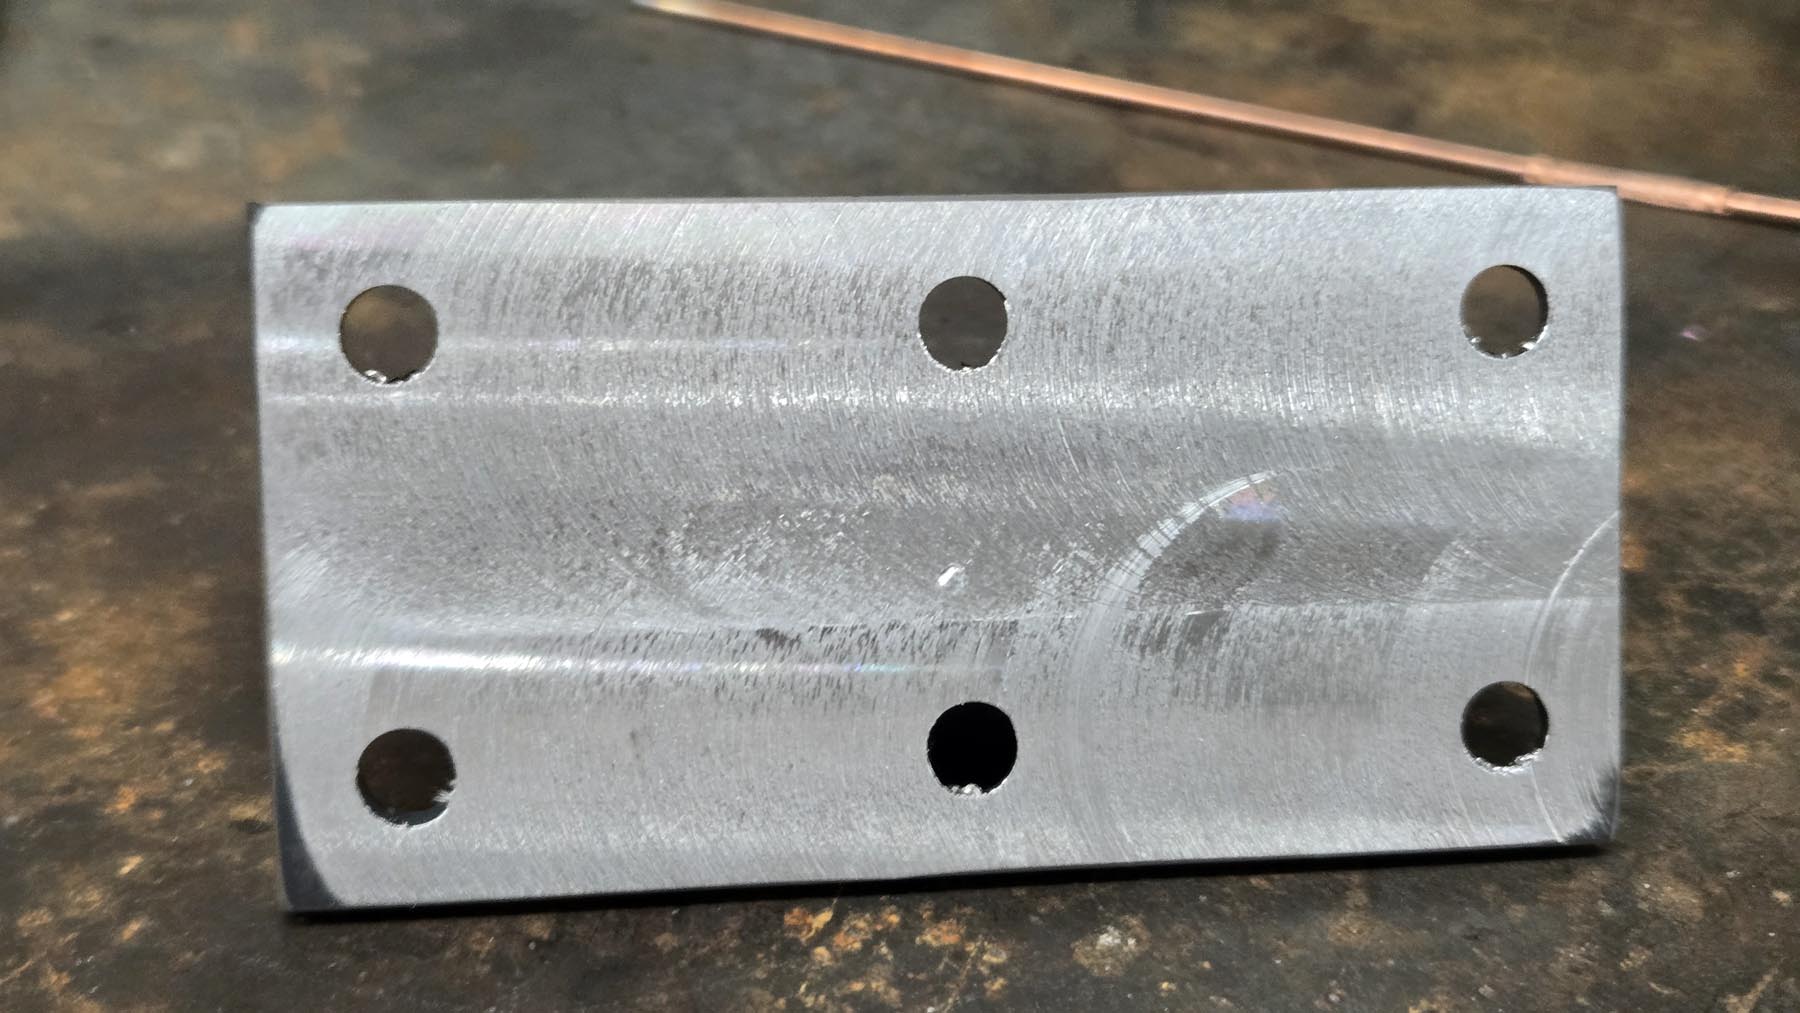
After welding was complete, all parts needing an accurately sized, located, and aligned bore were set up in the mill, probed until square, located accurately, then machined to final size with a boring head or machined straight with the boring head then final sized with a reamer. Long parts are going to warp from welding no matter how well they are fitup. You can't do this with a drill or reamer. They will mostly follow the hole. A boring head doesn't care, to a point. It's going to follow the Z axis of the machine. It can push off some, especially when stuck out this far. Just go slow and take proper depths of cut each pass.
Head on to the final assembly page to see it in use.